" # 담당 W&B 팀/entity
export WEAVE_PROJECT_NAME="koog-tracing" # 임의의 프로젝트 이름; 처음 사용 시 생성됨
```
## Koog 설치 (Gradle)
Kotlin 프로젝트에 Koog를 추가하세요(Kotlin DSL 기준):
```kotlin theme={null}
dependencies {
implementation("ai.koog:koog-agents:LATEST_VERSION")
}
```
추가 설치 정보는 [Koog 문서](https://docs.koog.ai/)에서 확인하세요.
## Weave 내보내기 활성화(OpenTelemetry)
Koog의 OpenTelemetry 기능을 설치하고 Weave 익스포터를 추가하세요. 그러면 Koog 스팬이 Weave의 OpenTelemetry 엔드포인트를 사용해 Weave 트레이스로 매핑됩니다.
다음 예제는 `addWeaveExporter`를 사용하는 방법을 보여줍니다:
```kotlin theme={null}
fun main() = runBlocking {
val apiKey = "api-key"
val entity = System.getenv()["WEAVE_ENTITY"] ?: throw IllegalArgumentException("WEAVE_ENTITY is not set")
val projectName = System.getenv()["WEAVE_PROJECT_NAME"] ?: "koog-tracing"
val agent = AIAgent(
executor = simpleOpenAIExecutor(apiKey),
llmModel = OpenAIModels.CostOptimized.GPT4oMini,
systemPrompt = "You are a code assistant. Provide concise code examples."
) {
install(OpenTelemetry) {
addWeaveExporter()
}
}
println("Running agent with Weave tracing")
val result = agent.run("""
Create a Python function to calculate fibonacci numbers efficiently,
include error handling, type hints, and unit tests.
Verify the implementation works for n=50.
""")
println("Result: $result\nSee traces on https://wandb.ai/$entity/$projectName/weave/traces")
}
```
이 함수는 Weave 환경 변수를 자동으로 읽어 오지만, 다음과 같이 익스포터의 [특정 매개변수](https://api.koog.ai/agents/agents-features/agents-features-opentelemetry/ai.koog.agents.features.opentelemetry.integration.weave/add-weave-exporter.html?query=fun%20OpenTelemetryConfig.addWeaveExporter\(weaveOtelBaseUrl:%20String?%20=%20null,%20weaveEntity:%20String?%20=%20null,%20weaveProjectName:%20String?%20=%20null,%20weaveApiKey:%20String?%20=%20null,%20timeout:%20Duration%20=%2010.seconds\))를 직접 설정할 수도 있습니다:
```kotlin theme={null}
install(OpenTelemetry) {
addWeaveExporter(
weaveOtelBaseUrl = "https://trace.wandb.ai",
weaveEntity = System.getenv()["WEAVE_ENTITY"],
weaveProjectName = System.getenv()["WEAVE_PROJECT_NAME"],
weaveApiKey = System.getenv()["WEAVE_API_KEY"],
timeout = 10.seconds
)
}
```
위 예시에서는 다음을 수행합니다.
* `weaveEntity`와 `weaveProjectName`을 사용해 트레이스를 특정 팀과 프로젝트로 라우팅합니다.
* `weaveOtelBaseUrl`을 트레이스 엔드포인트(예: `https://.wandb.io/`)로 설정합니다. 전용 Weave 인스턴스를 사용하는 경우 이 파라미터를 사용하세요.
Koog에서 Weave를 처음 사용한다면, 다음 문서를 살펴보는 것이 좋습니다.
* exporter에 대한 추가 정보는 [Koog's Weave exporter guide](https://docs.koog.ai/opentelemetry-weave-exporter/)를 참조하세요.
* OpenTelemetry가 Koog와 함께 작동하는 방식의 핵심 개념은 [Koog's OpenTelemetry support guide](https://docs.koog.ai/opentelemetry-support/)를 참조하세요.
* Weave가 OTLP 데이터를 수집하는 방식에 대한 정보는 [Weave OTEL docs](../tracking/otel)를 참조하세요.
## 트레이스되는 항목
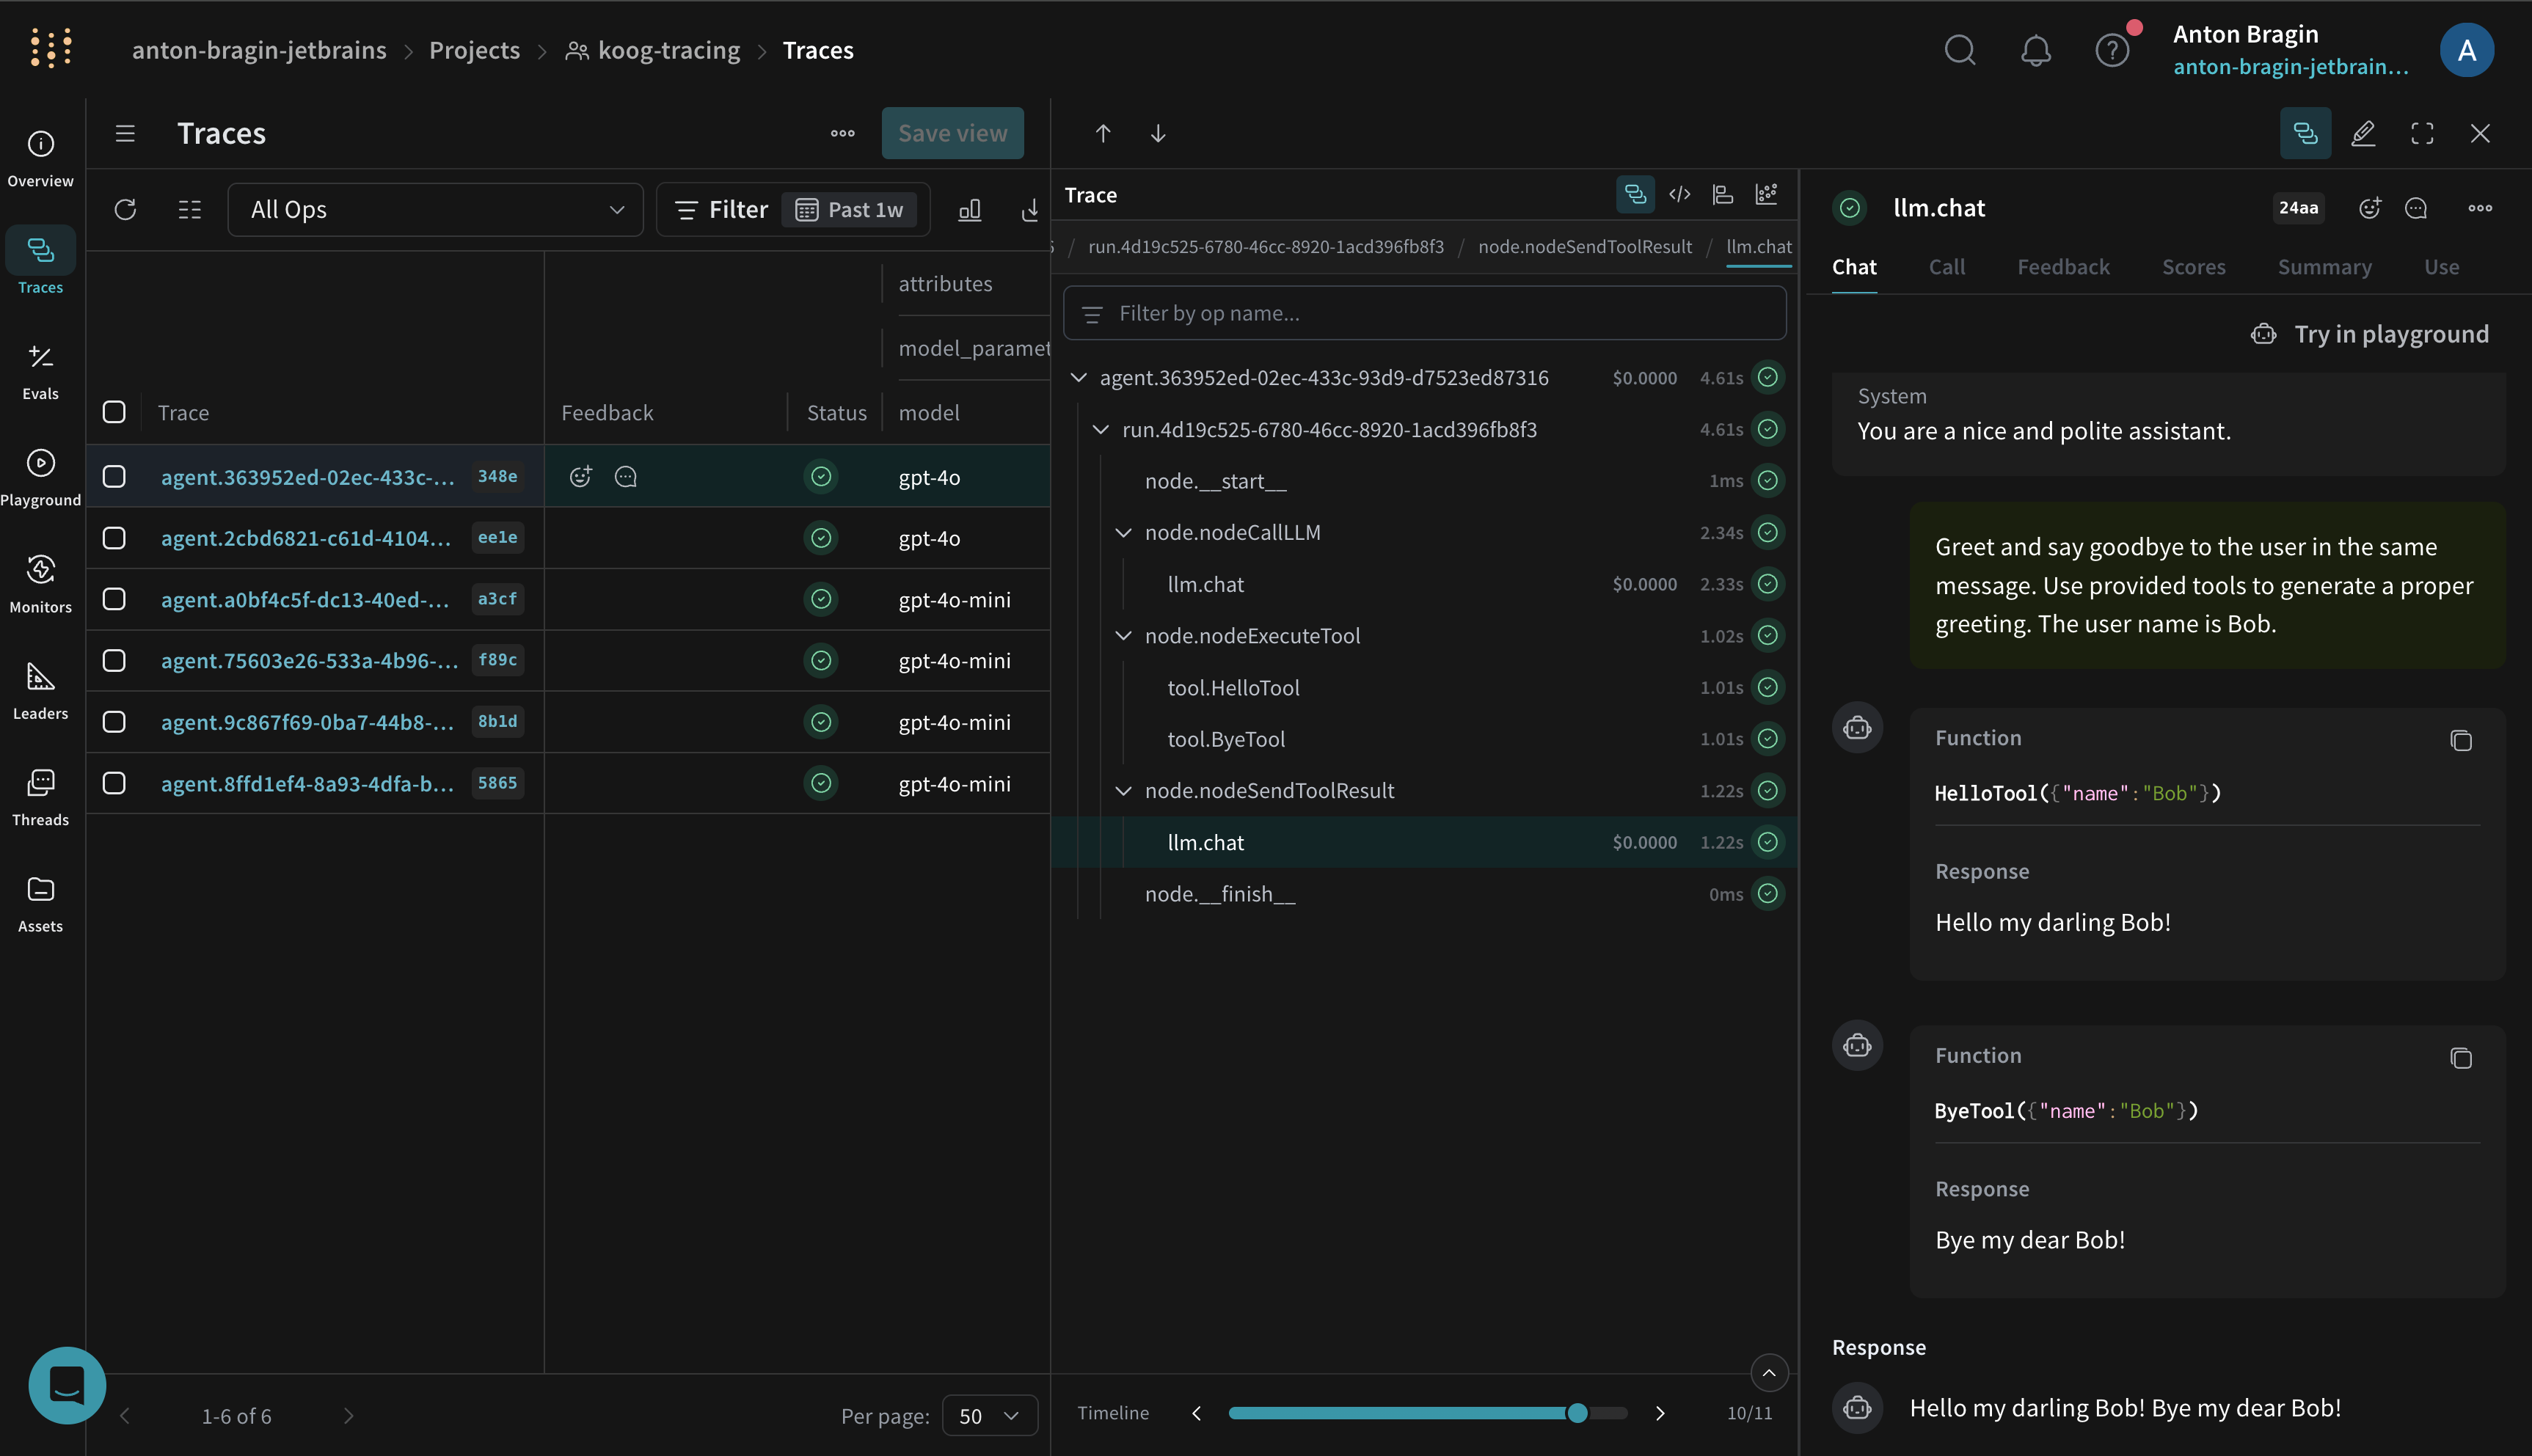
활성화하면 Koog의 Weave 익스포터는 Koog의 일반 OTEL 인테그레이션과 동일한 스팬을 캡처하며, 여기에는 다음이 포함됩니다.
* 에이전트 수명 주기 이벤트(시작, 중지, 오류)
* LLM 상호작용(프롬프트, completion, 토큰 사용량, 지연 시간)
* 도구 및 API 호출(함수 호출 및 외부 요청)
* 시스템 컨텍스트(모델 이름, Koog 버전, 환경 메타데이터)
이러한 트레이스를 Weave UI에서 시각화해 성능과 품질을 파악할 수 있습니다. Weave로 트레이스를 캡처하는 방법에 대한 소개는 [Weave의 Tracing Overview](../tracking/tracing)를 참조하세요.
## 예시 노트북
트레이스를 Weave로 스트리밍하는 [실행 가능한 노트북](https://docs.koog.ai/examples/Weave/)은 Koog 문서를 참조하세요.
## 문제 해결
* 트레이스가 보이지 않으면 먼저 `WEAVE_API_KEY`, `WEAVE_ENTITY`, `WEAVE_PROJECT_NAME`이 올바르게 설정되어 있는지 확인하세요.
* 사용 중인 환경에서 `https://trace.wandb.ai`에 연결할 수 있는지, 그리고 익스포터가 위에 나온 대로 설정되어 있는지 확인하세요.
* 추가 문제 해결 방법과 샘플링 지침은 Koog의 [OpenTelemetry 지원](https://docs.koog.ai/opentelemetry-support/)을 참조하세요.