> ## Documentation Index
> Fetch the complete documentation index at: https://wb-21fd5541-docs-hivemind-launch.mintlify.site/llms.txt
> Use this file to discover all available pages before exploring further.
> 既存のW&Bプロジェクトからsweepジョブを作成する方法を説明するチュートリアル。
# チュートリアル: プロジェクトからsweepジョブを作成する
このチュートリアルでは、既存のW\&Bプロジェクトからsweepジョブを作成する方法を説明します。[Fashion MNISTデータセット](https://github.com/zalandoresearch/fashion-mnist)を使用して、画像を分類するPyTorchの畳み込みニューラルネットワークをトレーニングします。必要なコードとデータセットは、[W\&B examplesリポジトリ (PyTorch CNN Fashion)](https://github.com/wandb/examples/tree/master/examples/pytorch/pytorch-cnn-fashion) にあります。
結果はこの[W\&Bダッシュボード](https://app.wandb.ai/carey/pytorch-cnn-fashion)で確認できます。
## 1. プロジェクトを作成する
まず、ベースラインを作成します。W\&B examples の GitHub repository から PyTorch MNIST データセットのサンプルモデルをダウンロードします。次に、モデルをトレーニングします。トレーニングスクリプトは `examples/pytorch/pytorch-cnn-fashion` ディレクトリにあります。
1. このリポジトリをクローンします `git clone https://github.com/wandb/examples.git`
2. このサンプルのディレクトリに移動します `cd examples/pytorch/pytorch-cnn-fashion`
3. run を手動で実行します `python train.py`
必要に応じて、W\&B App UI のダッシュボードでこのサンプルを確認してください。
[サンプルのプロジェクトページを表示 →](https://app.wandb.ai/carey/pytorch-cnn-fashion)
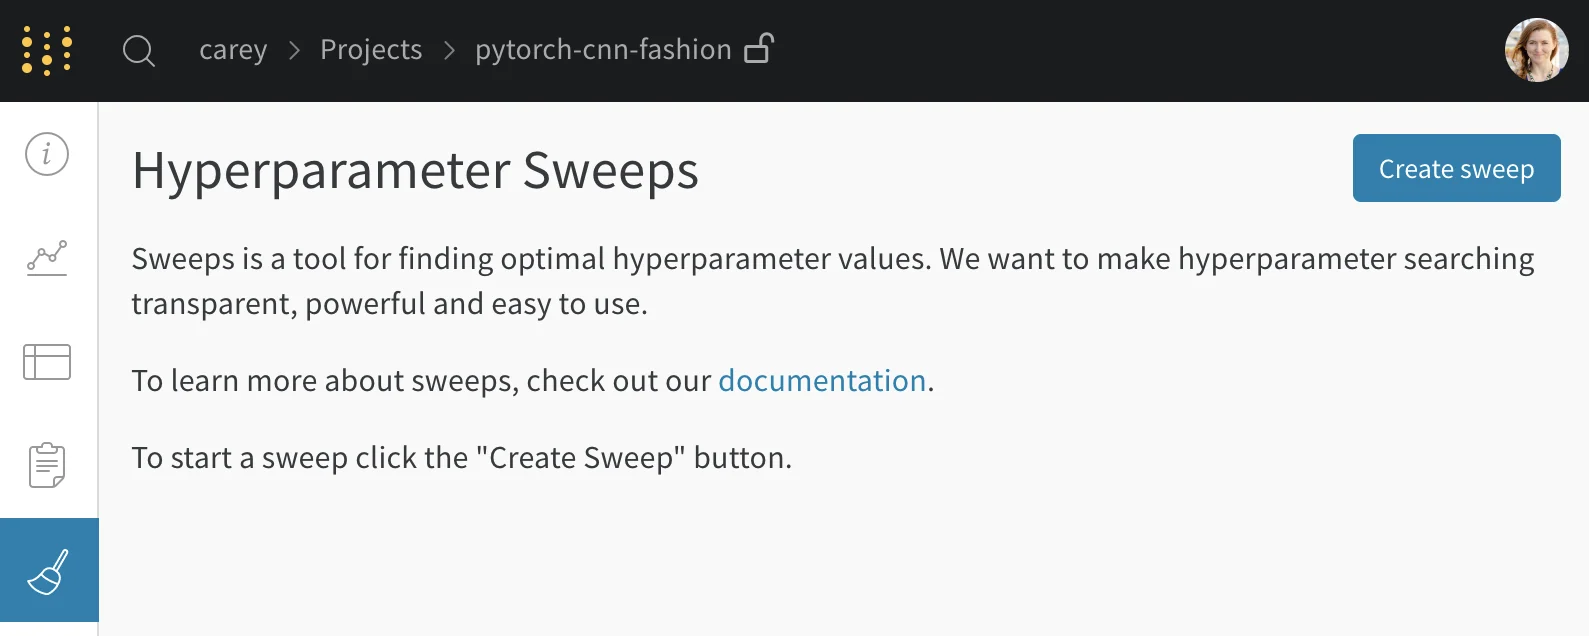
## 2. sweep を作成する
プロジェクトページで、プロジェクトのサイドバーにある [Sweep タブ](./visualize-sweep-results) を開き、**Create Sweep** を選択します。
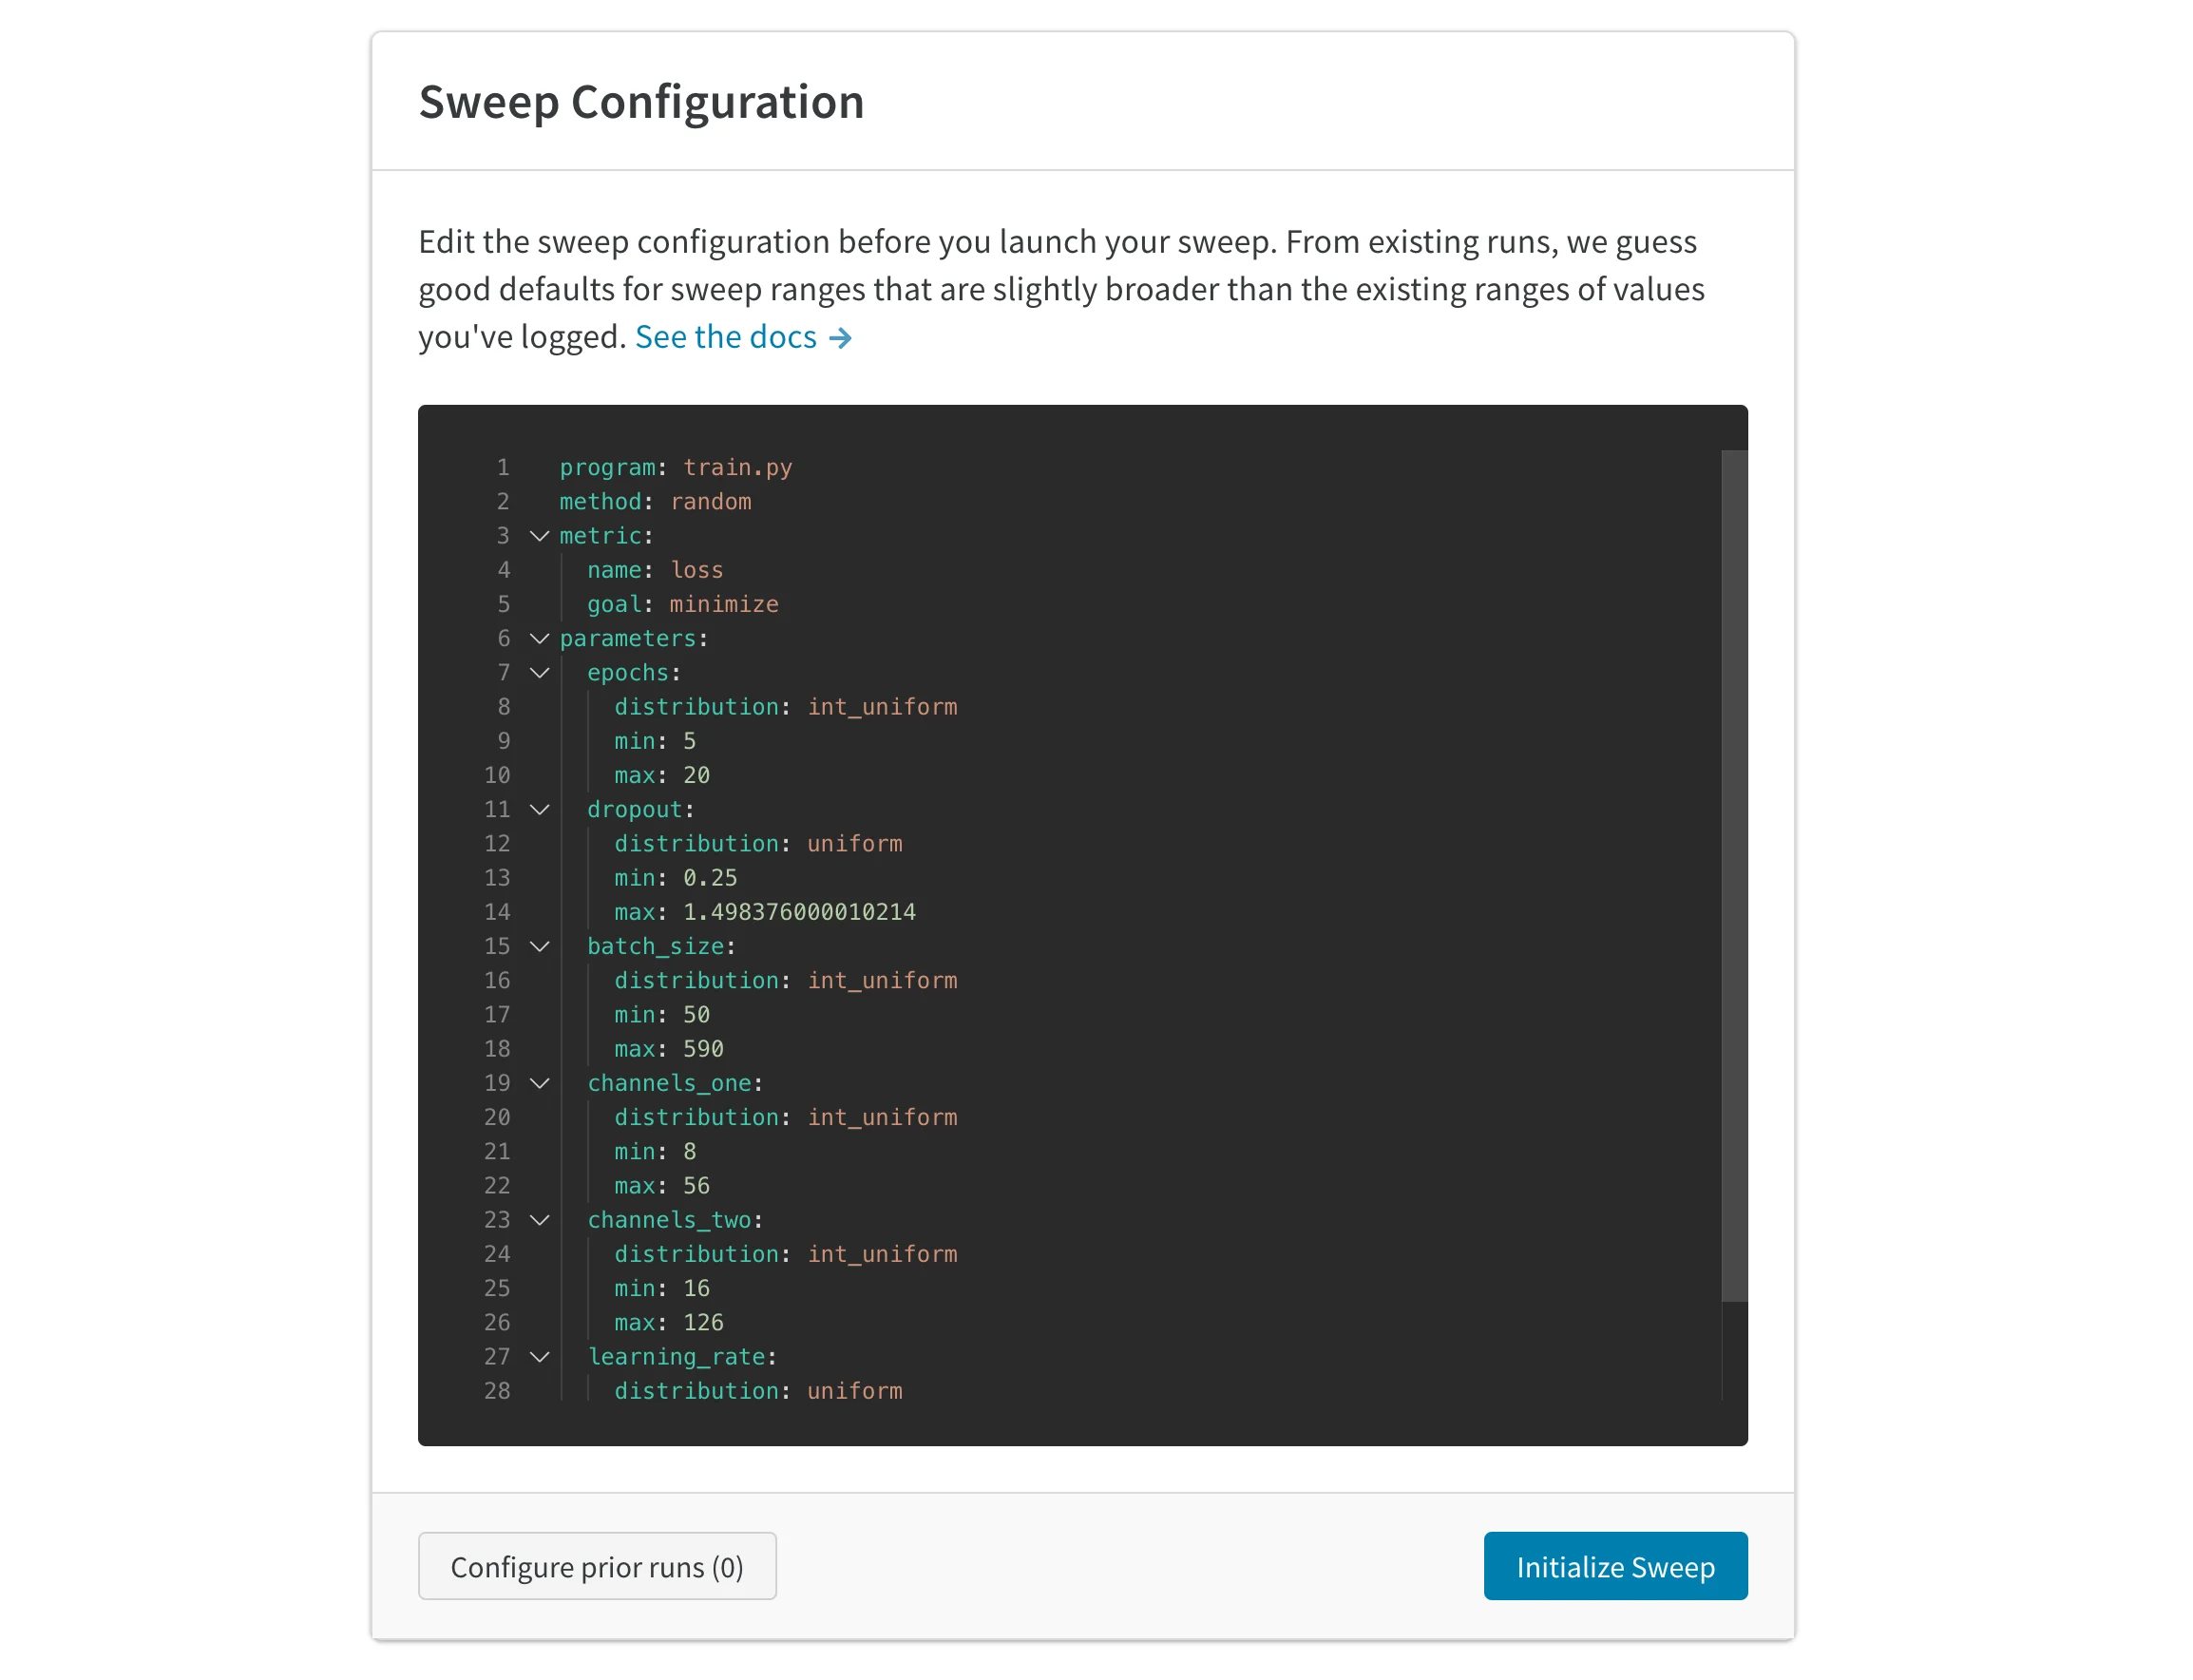
 自動生成された設定は、完了済みの run に基づいて、sweep する値を推定します。試したいハイパーパラメーターの範囲を指定するように設定を編集します。sweep を起動すると、W\&B のホスト型 sweep サーバー上で新しいプロセスが開始されます。この集中管理型サービスが、agent (トレーニング ジョブを実行しているマシン) を調整します。
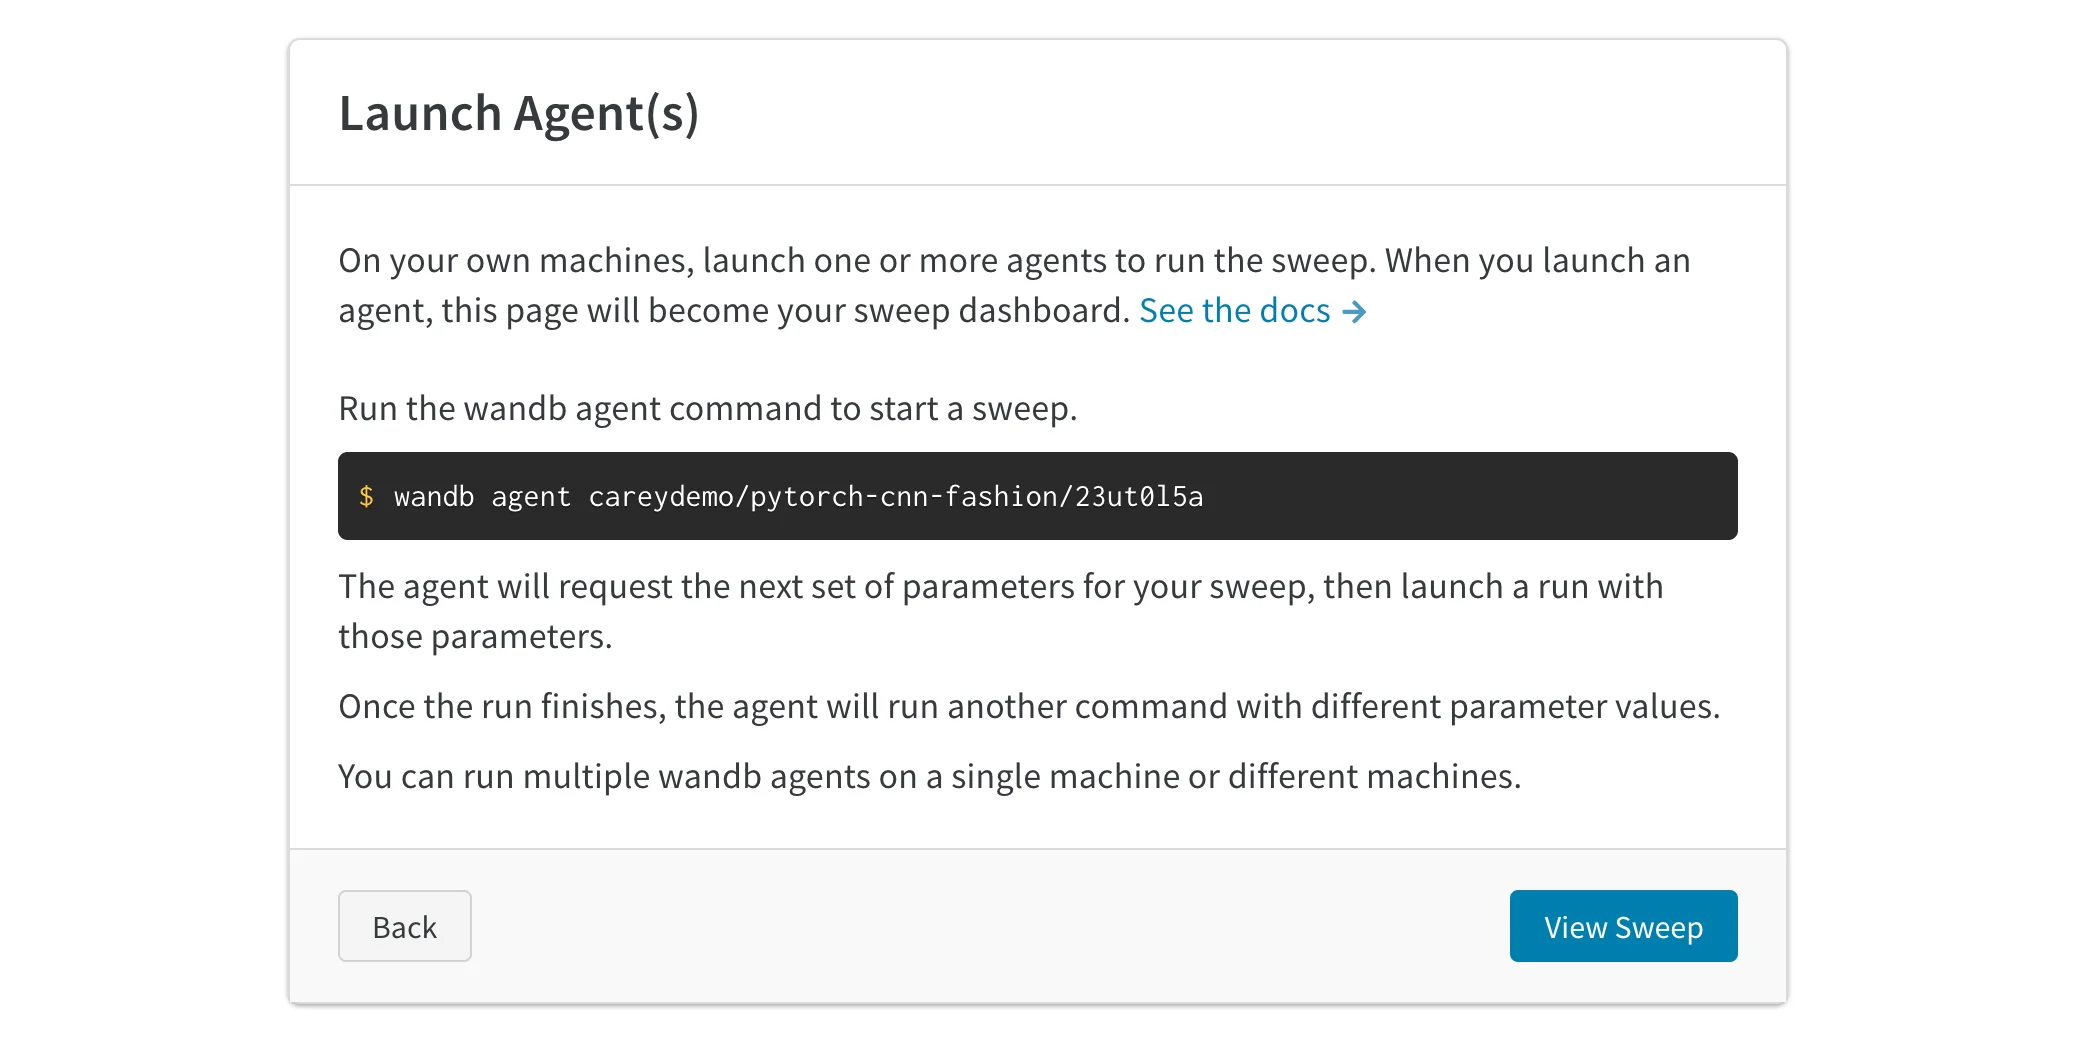
## 3. agentを起動する
次に、ローカルでagentを起動します。作業を分散して sweep ジョブをより早く完了したい場合は、異なるマシン上で最大 20 個のagentを並列に起動できます。agentは、次に試行するパラメーターのセットを出力します。
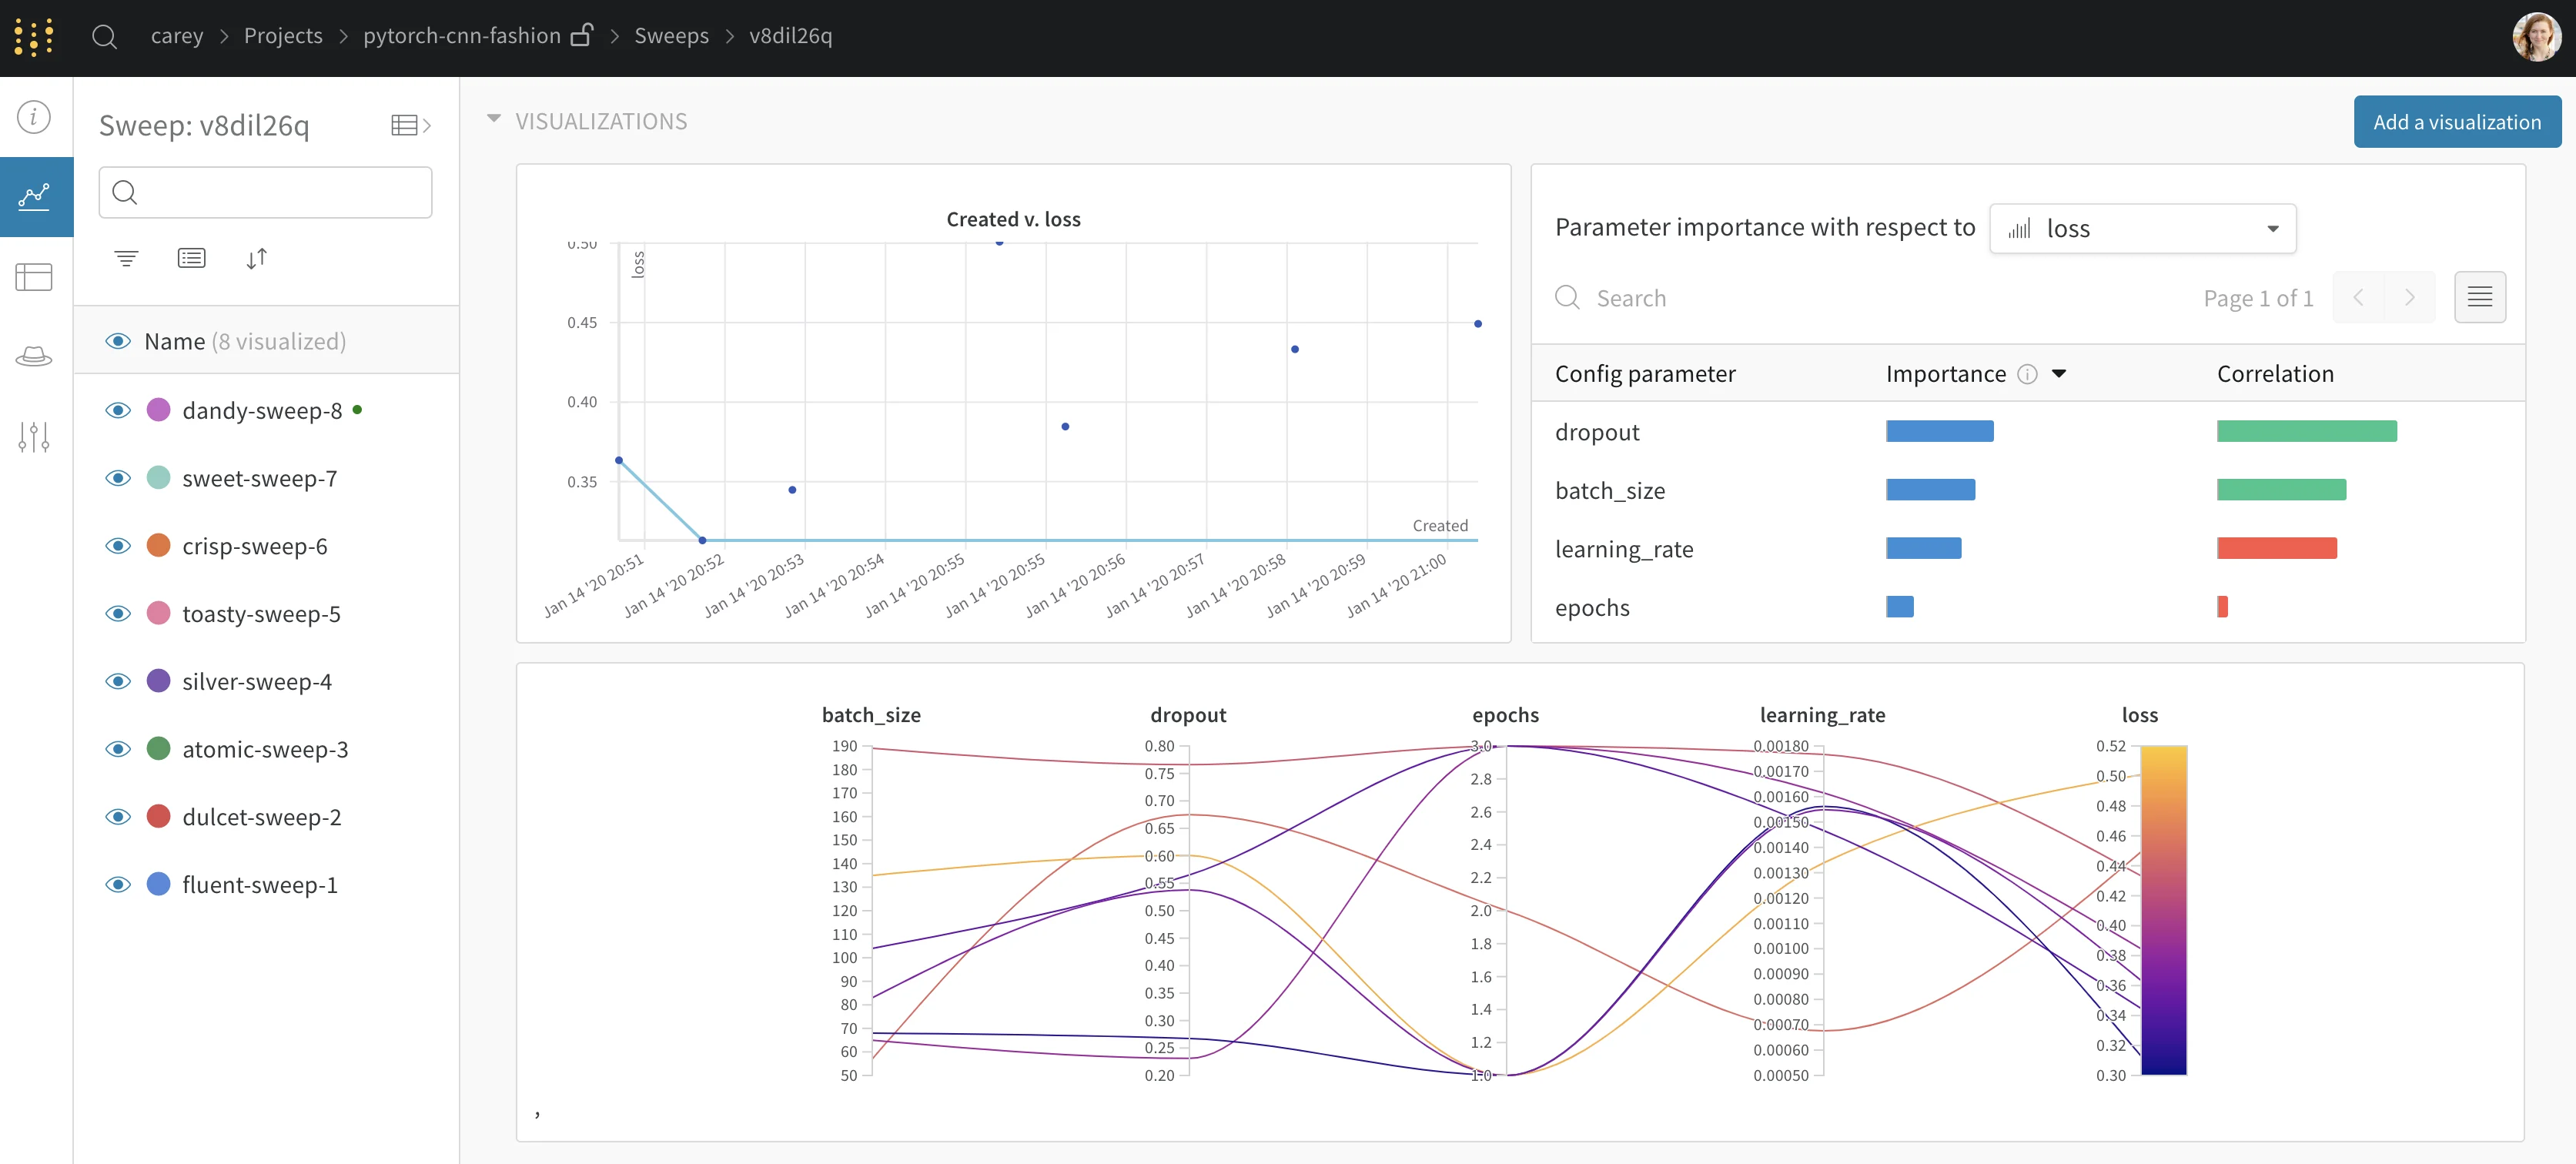
 これで sweep を実行中です。次の画像は、サンプルの sweep ジョブの実行中にダッシュボードがどのように表示されるかを示しています。[プロジェクトページの例を表示 →](https://app.wandb.ai/carey/pytorch-cnn-fashion)
## 既存のrunを使って新しいsweepを初期化する
これまでにログした既存のrunを使用して、新しいsweepを開始します。
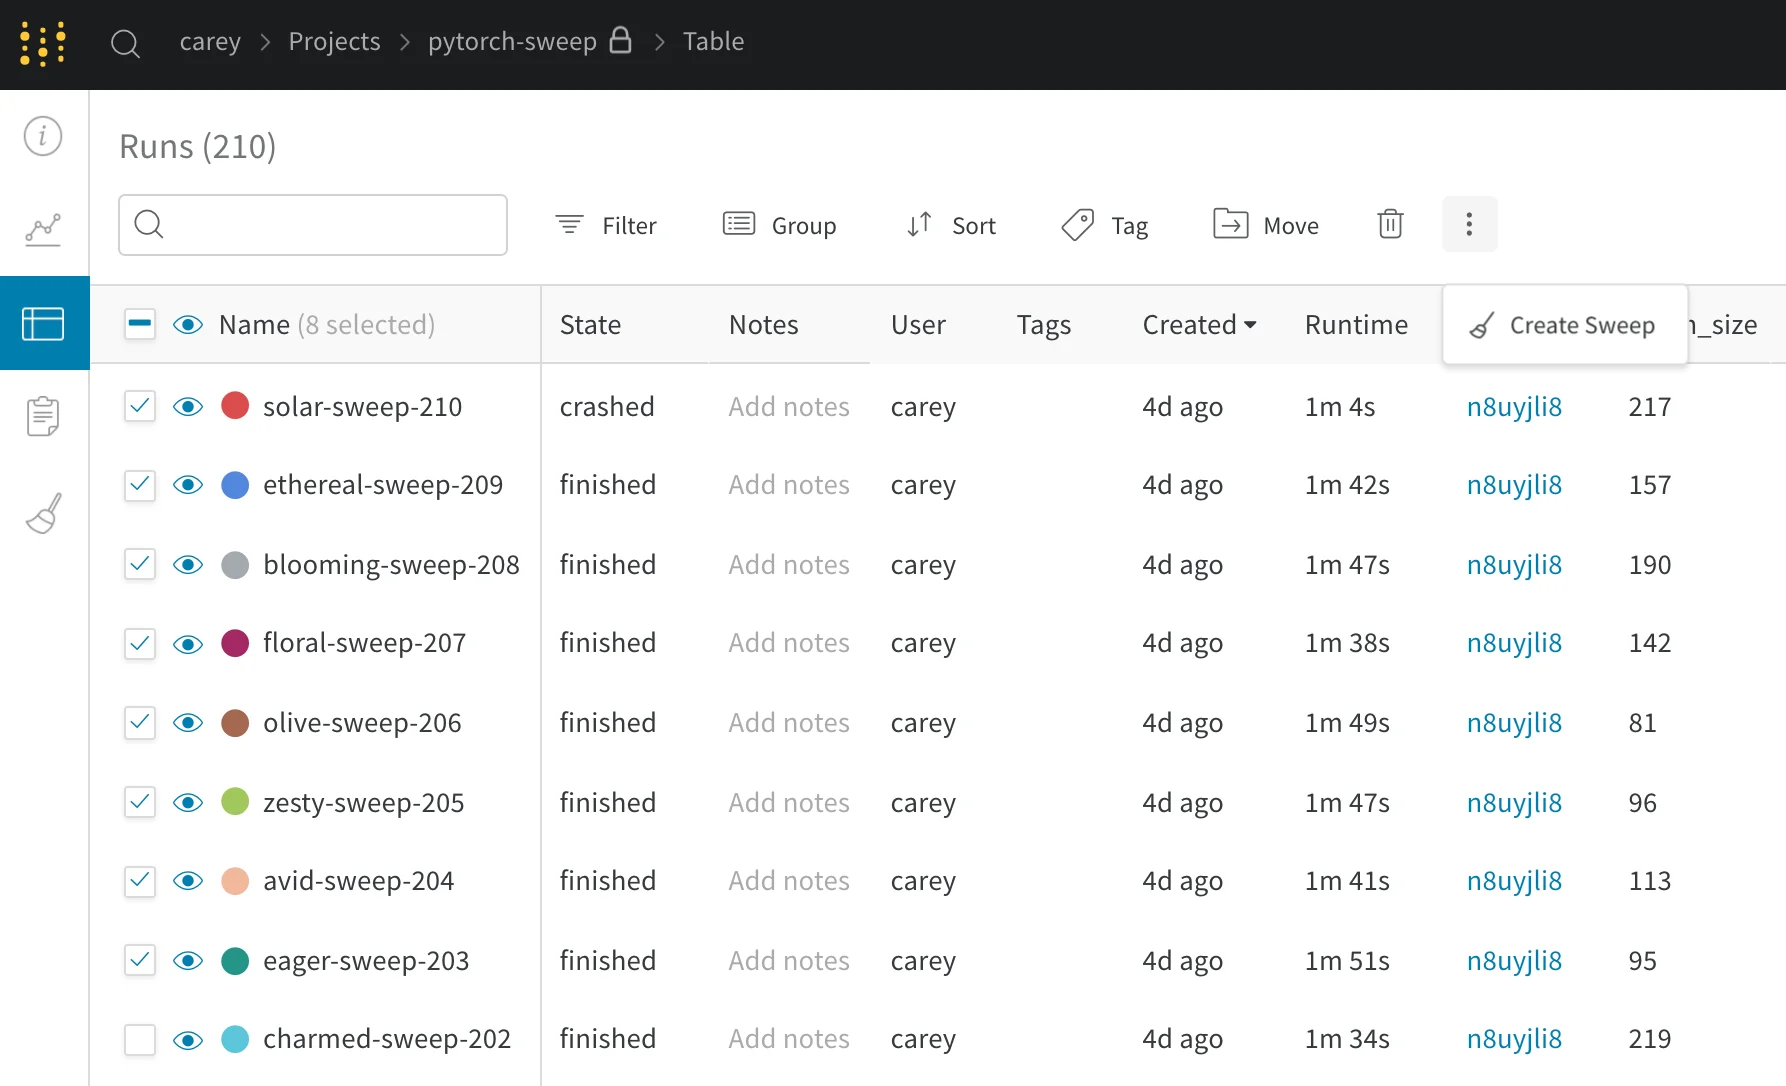
1. プロジェクトの表を開きます。
2. 表の左側にあるチェックボックスで、使用するrunを選択します。
3. ドロップダウンをクリックして、新しいsweepを作成します。
これで、sweepがサーバー上に設定されます。あとは、1つ以上のagentを起動して、runを実行するだけです。
 新しいsweepをベイズsweepとして開始すると、選択したrunはガウス過程の初期化にも使用されます。